


Introduction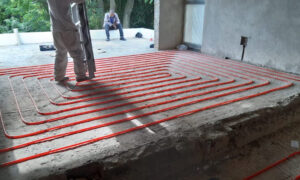
Underfloor heating systems offer a luxurious and efficient way to heat homes and commercial spaces. The installation process plays a crucial role in ensuring the system’s effectiveness and longevity. In this article, we will provide a comprehensive step-by-step guide for installing underfloor heating systems.
Preparation Stage
1. Firstly, conduct a thorough assessment of the installation area to determine its suitability for underfloor heating.
2. Next, remove any existing flooring materials and ensure the sub floor is clean, dry, and level.
3. Then, lay down a high-quality insulation layer to minimize heat loss and maximize energy efficiency.
4. Additionally, install a moisture barrier to prevent any potential damage to the heating system.
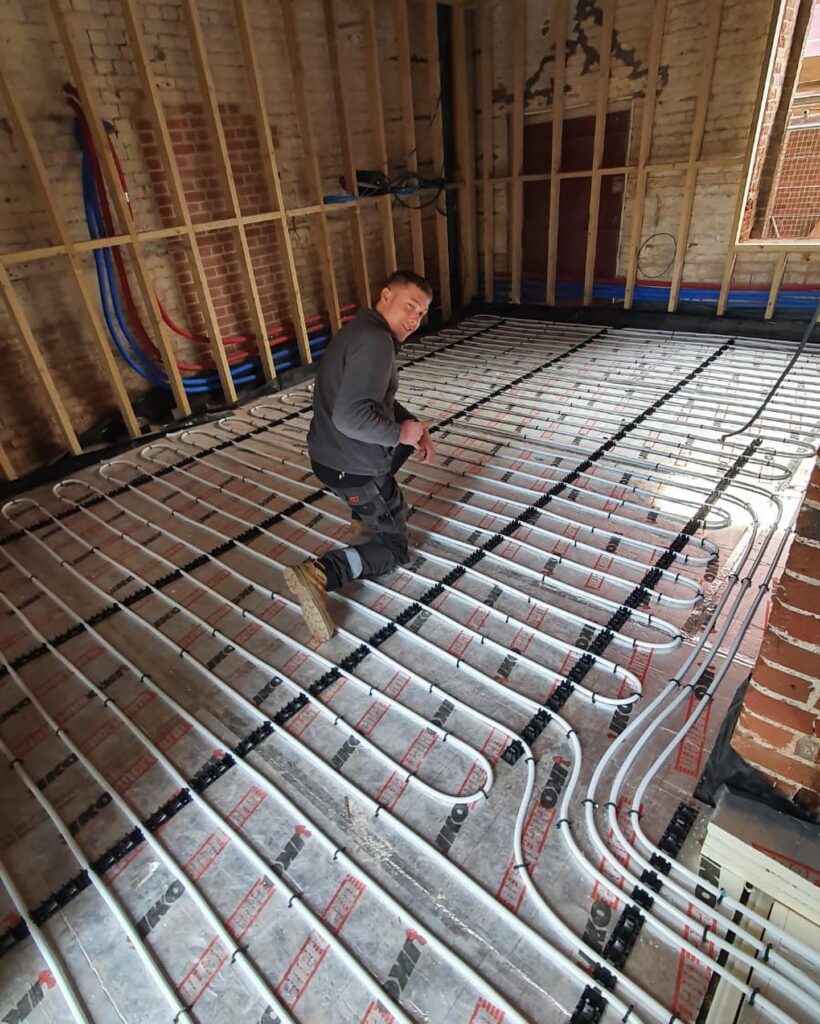
Layout and Installation Stage
1. Begin by planning the layout of the underfloor heating cables or mats, taking into account the specific heating requirements of each area.
2. Carefully position the heating cables or mats according to the layout plan and ensure the proper spacing and coverage.
3. Connect the heating cables or mats to the thermostat and power supply, following the manufacturer’s instructions.
Flooring Installation Stage
1. Once the heating system is in place, install the flooring material of your choice, such as tiles, hardwood, or laminate.
2. Following that, apply adhesive or mortar evenly and ensure secure attachment of the flooring material to the sub floor.
3. In addition, use spacers to maintain consistent spacing between tiles or planks, ensuring proper heat distribution.
4. After completing the flooring installation, allow sufficient time for the adhesive or mortar to dry completely.
Thermostat and Controls Installation Stage
1. Install the thermostat in a convenient and accessible location, ensuring it is wired correctly and securely mounted.
2. Connect the thermostat to the heating system, following the manufacturer’s instructions for proper wiring and programming.
3. Set up the desired heating programs and temperature settings to achieve optimal comfort and energy efficiency.
Final Checks and Testing Stage
1. Firstly, before completing the installation process, thoroughly inspect the entire underfloor heating system for any potential issues or errors.
2. Secondly, test the system by turning it on and monitoring the heat distribution and performance in each zone.
3. Moreover, make any necessary adjustments or corrections to ensure uniform heating throughout the installation area.
4. Finally, provide the client with detailed instructions on operating and maintaining the underfloor heating system.
Conclusion
Installing an underfloor heating system requires careful planning, precise execution, and attention to details so by following this step-by-step guide, you can ensure a successful and efficient installation process. Besides, with a properly installed underfloor heating system, you can enjoy luxurious warmth and enhanced energy efficiency in your home or commercial space for years to come.